
some time ago I've bought a 4001F. The previous owner bought it in 1981, he wanted to learn to play the bass - and he never started.
So the bass was sitting in some cupboard for 30 years
It is in very good conditions, looks like new. Before he offered the bass for sale he got it serviced. Setup and new strings.
So far so good. Now I noticed that the setup could be better (I have to adjust the neck on all my instruments at least twice a year, always
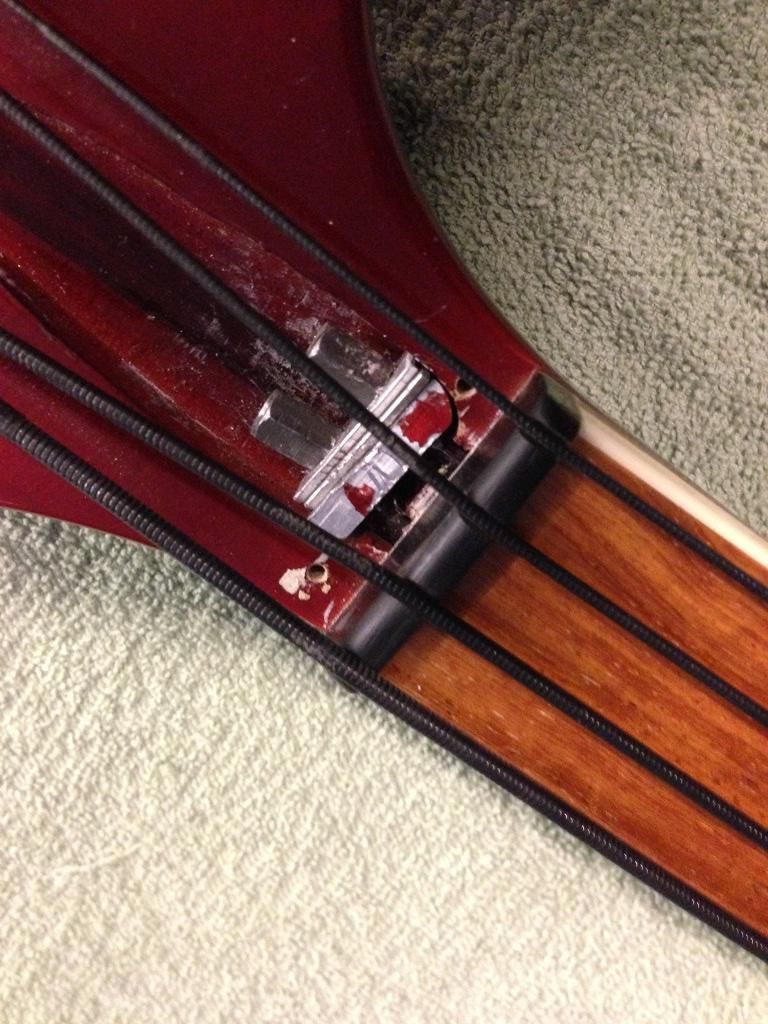
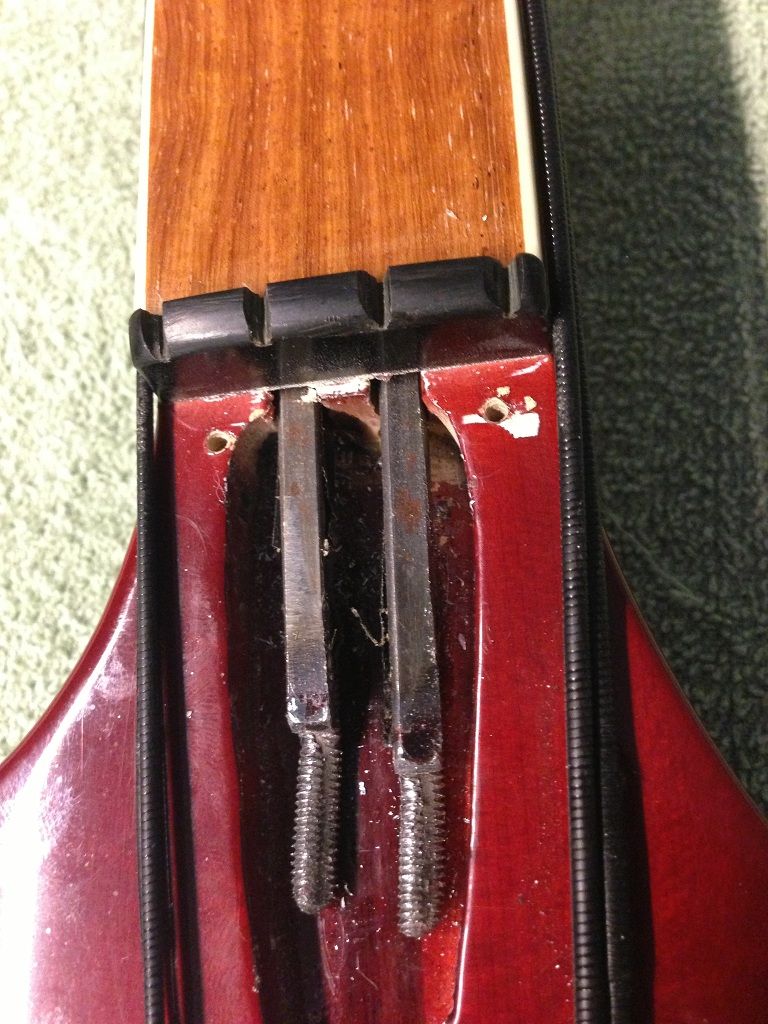
in spring and autumn). So I've removed the TRC and what I saw was.....surprising. See fotos:

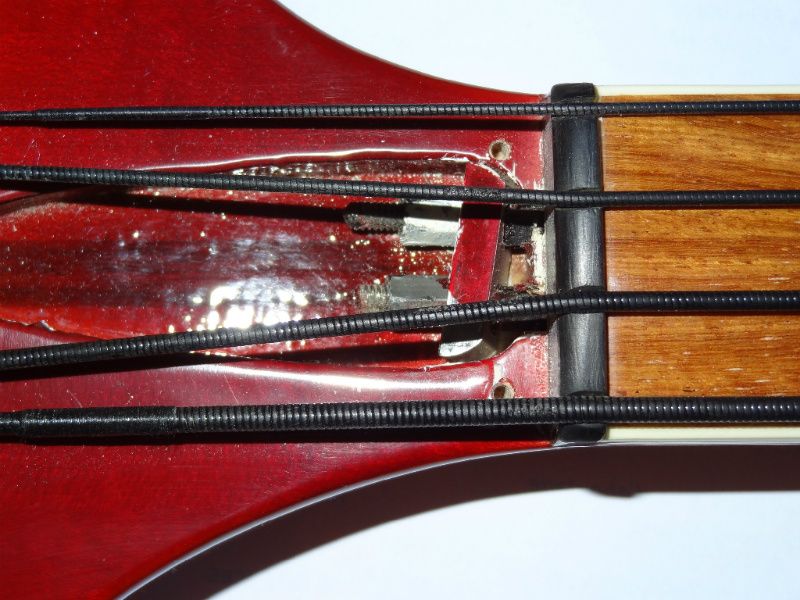
The metal plate is not sitting where it is supposed to be. However, it's sitting firm and does not seem to be broken. The nuts are also sitting firm.
Unfortunately the lower side of the nuts is so close to the wood that I can't use my Rickenbacker wrench to turn the nuts. I might need some flat wrench.
I know how to set up the truss rods of a 4001. But maybe the guys who did the setup didn't know (as so often
Any recommendations? The neck is not flat now, the nuts need a quarter or maybe half a turn. But I don't know how to proceed and I don't want to
make things even more worse.
Thanks!


