1991 Rickenbacker 350 complete rebuild
Moderator: jingle_jangle
- 8mileshigher
- Senior Member
- Posts: 4871
- Joined: Tue May 23, 2006 12:34 pm
1991 Rickenbacker 350 complete rebuild
Great pictures and narrative of the project, Dom !! 
Re: 1991 Rickenbacker 350 complete rebuild
Yes. Larry told me that he used "heat lamps and 20 minutes" to separate the neck from the body.Dom wrote:Was that on this guitar?
- 8mileshigher
- Senior Member
- Posts: 4871
- Joined: Tue May 23, 2006 12:34 pm
1991 Rickenbacker 350 complete rebuild
Dom,
how is the 350 rebuild project progressing ? Any more pictures to share ?

how is the 350 rebuild project progressing ? Any more pictures to share ?
Re: 1991 Rickenbacker 350 complete rebuild
I'll get a pic of the body tonight. The back warped again so I've been checking out fiddle back maple to make a new one. Have a few unexpected expenses like a fridge repair and new exhaust for my car. Been pretty busy throughout March so I haven't had a chance to get to my Dad's shop to do the binding stair step. Once the binding is on I'll pull the 330 neck sand it & install it on the 350. I'm also converting my garage to a workshop/recording studio. Anxious to get this one together!
- 8mileshigher
- Senior Member
- Posts: 4871
- Joined: Tue May 23, 2006 12:34 pm
1991 Rickenbacker 350 complete rebuild
Sorry the hear about the wood-warping issues.... hope you get it fixed to your satisfaction.Dom wrote:The back warped again so I've been checking out fiddle back maple to make a new one.
It is a real interesting restoration/rebuild project you have going here !
Re: 1991 Rickenbacker 350 complete rebuild
Progress has been slowed due to other time constraints but here are some pictures of the body with the halves back together.
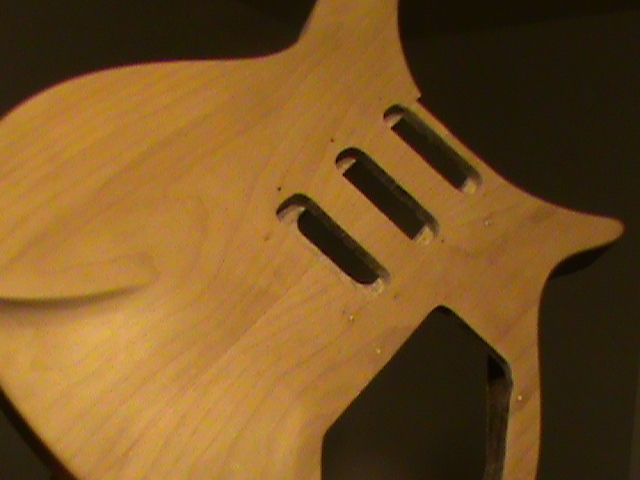
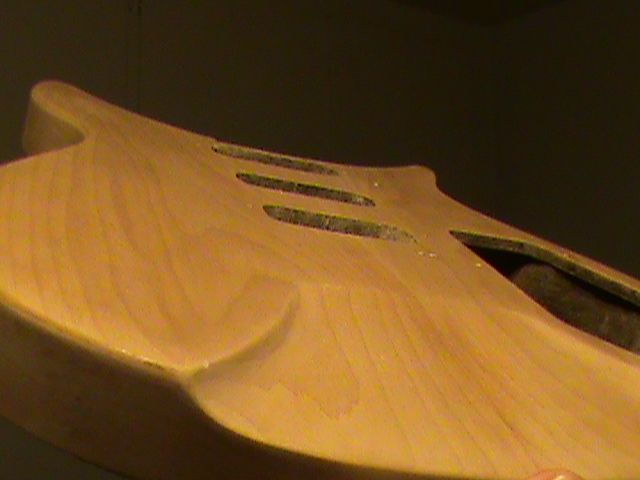
The body top has been sanded smooth.
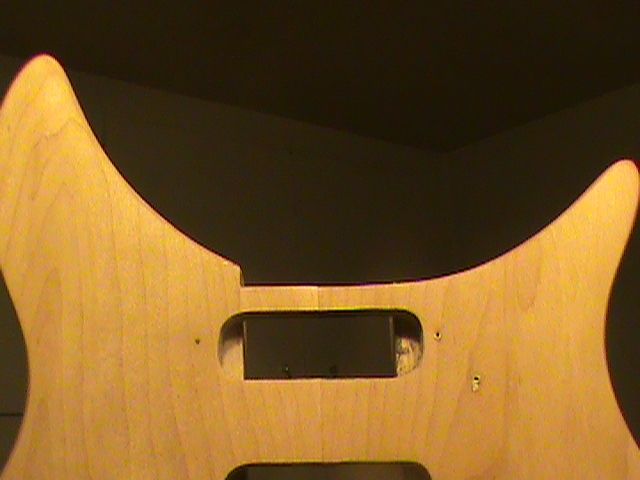
The small piece that broke on the bass side of the neck pickup has been re-glued. I'm glad it was the bass side as it will not be affected when I make the stair step route for the checkerboard and binding.
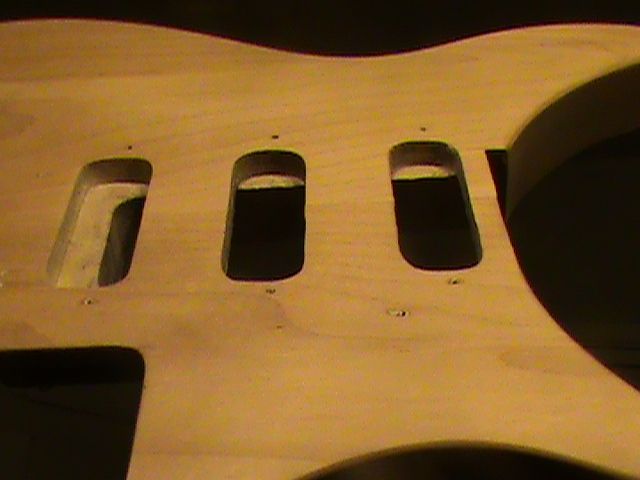
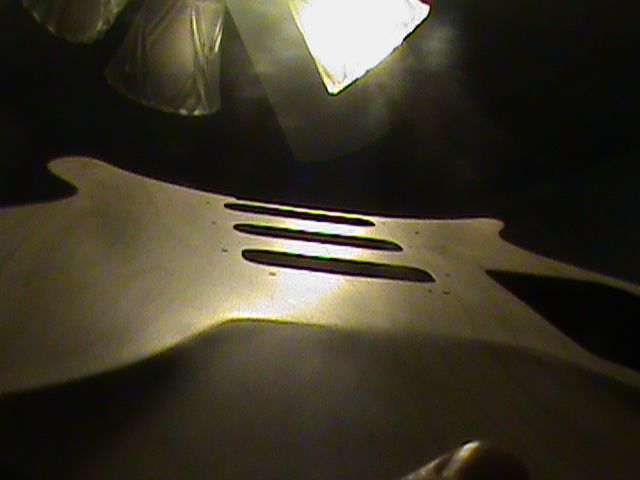
Impossible to see with this cheap camera and low light but the body is actually back to a clean white maple. I actually sanded so it shines a bit and it really brought out some definition to the grain. The grain shifts with the light and caused lens flare so this was the best I could do.


The body top has been sanded smooth.

The small piece that broke on the bass side of the neck pickup has been re-glued. I'm glad it was the bass side as it will not be affected when I make the stair step route for the checkerboard and binding.


Impossible to see with this cheap camera and low light but the body is actually back to a clean white maple. I actually sanded so it shines a bit and it really brought out some definition to the grain. The grain shifts with the light and caused lens flare so this was the best I could do.
Re: 1991 Rickenbacker 350 complete rebuild
It's starting to look real purdy!
Re: 1991 Rickenbacker 350 complete rebuild
And he's routing a staircase to heaven...
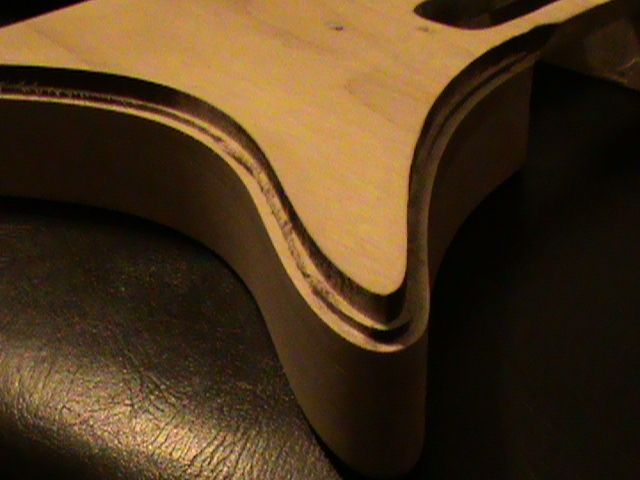
Wen't to my parents place and used my dad's router to do the staircase for the purfling & binding. Yes, I have yet to clean it up with sandpaper and a file. We did test routes on a piece of scrap first. The shallower route for the checkerboard was done first then the deeper route for the binding. You can really see the difference between the heights for each route in the shot of the treble bout above.
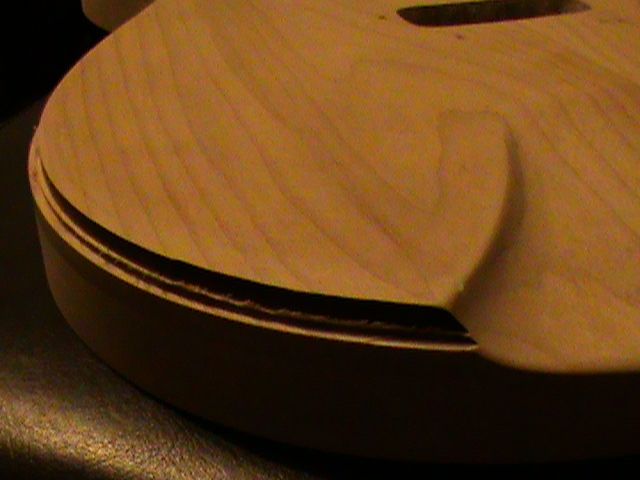
Here is the ramp...
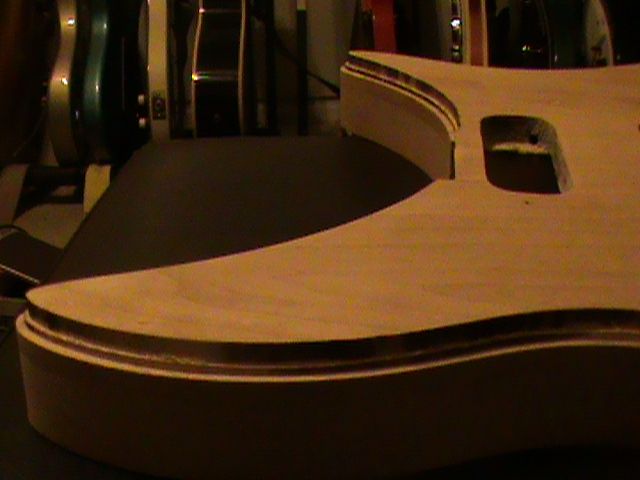
...and the cutaways.
I test fit part of the binding and it works well. The binding will be cut to length, bent with a heat gun and attached by using acetone. This stuff is celluloid and acetone essentially melts it. Very much like when negative cutting and splicing when using movie film stock, the acetone binds the celluloid together. First will be the checks, which will go in first and acetoned (melted) into the wood and taped with painter's tape. Then once dry the outer binding will go in and bind to the check purfling. The melting/bonding takes very little time so you work slowly around the piece bit by bit and I will be applying the acetone directly to the wood in small increments to ensure it holds with no gaps. Once dry and set I've got a putty knife to scrape everything flush. Now that this step is done things will move a lot quicker.
Oh, and for those who assume they'd never be able to do this stuff just so you know I have never done anything like this before...I will certainly admit to being nervous before the first cut.

Wen't to my parents place and used my dad's router to do the staircase for the purfling & binding. Yes, I have yet to clean it up with sandpaper and a file. We did test routes on a piece of scrap first. The shallower route for the checkerboard was done first then the deeper route for the binding. You can really see the difference between the heights for each route in the shot of the treble bout above.

Here is the ramp...

...and the cutaways.
I test fit part of the binding and it works well. The binding will be cut to length, bent with a heat gun and attached by using acetone. This stuff is celluloid and acetone essentially melts it. Very much like when negative cutting and splicing when using movie film stock, the acetone binds the celluloid together. First will be the checks, which will go in first and acetoned (melted) into the wood and taped with painter's tape. Then once dry the outer binding will go in and bind to the check purfling. The melting/bonding takes very little time so you work slowly around the piece bit by bit and I will be applying the acetone directly to the wood in small increments to ensure it holds with no gaps. Once dry and set I've got a putty knife to scrape everything flush. Now that this step is done things will move a lot quicker.
Oh, and for those who assume they'd never be able to do this stuff just so you know I have never done anything like this before...I will certainly admit to being nervous before the first cut.
Re: 1991 Rickenbacker 350 complete rebuild
Dom, don't use straight acetone for glue. Melt some scraps of binding in about 4 oz. of acetone, adding until you have a medium thick goo, and use a sealed squirt bottle to apply it.
All I wanna do is rock!
Re: 1991 Rickenbacker 350 complete rebuild
Thank you! I had read in a few places that just acetone & a metal brush worked well. Glad to know that was wrong. I just did a you tube search & found Paul W applying binding on a 4005 and it also looks much easier to boot.kiramdear wrote:Dom, don't use straight acetone for glue. Melt some scraps of binding in about 4 oz. of acetone, adding until you have a medium thick goo, and use a sealed squirt bottle to apply it.
I had snipped off a tiny bit of the binding and checkerboard to make a piece to set the router depth. I added a minute drop of acetone and they bonded together like no ones business. It also sticks to skin very well.
Re: 1991 Rickenbacker 350 complete rebuild
Yes, I learned that recipe/technique from Paul. It works great! Best of luck to you! 
All I wanna do is rock!
Re: 1991 Rickenbacker 350 complete rebuild
Your ruby 350 that you did the binding on sure turned out great by the way!kiramdear wrote:Yes, I learned that recipe/technique from Paul. It works great! Best of luck to you!
- paologregorio
- Senior Member
- Posts: 6373
- Joined: Wed Aug 08, 2007 12:56 pm
- Contact:
Re: 1991 Rickenbacker 350 complete rebuild
While you have it apart, I suggest fitting a sustain block under the bridge. doesn't need to be much, just enough for snug contact between top and bottom of body-doesn't even need to be glued in.
There is no reason to ever be bored.
...why yes, I suppose I do have a double bound guitar fetish...
"Uh, I like the double bounds. . . ."
...why yes, I suppose I do have a double bound guitar fetish...
"Uh, I like the double bounds. . . ."
Re: 1991 Rickenbacker 350 complete rebuild
It is a good suggestion, but it does not look like I need to. Directly below the bridge there is wood extending from the neck slot which contacts the back. The small square pocket is directly aft of the bridge. It fits flush and is glued to the back as you can see from this pic when the body was all apart.paologregorio wrote:While you have it apart, I suggest fitting a sustain block under the bridge. doesn't need to be much, just enough for snug contact between top and bottom of body-doesn't even need to be glued in.
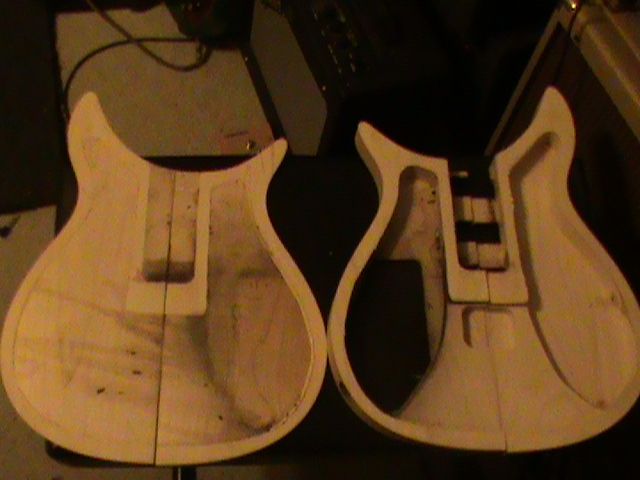
If it is anything like my '87 is on the inside sustain will not be a problem. There are certainly construction differences, notably the control cavity and pickguard shapes. I've been contemplating higher value potentiometers on this one. The neck & mid on my 87 are a bit too dark & I'm likely going with 3 fiber top HiGains. The latest hold up is that I need to procure a glue or ketchup squirter from the 99 cent store to apply the binding. My schedule is very tight so this won't happen until maybe Thursday. I hope to have all the binding on by Sunday.
- paologregorio
- Senior Member
- Posts: 6373
- Joined: Wed Aug 08, 2007 12:56 pm
- Contact:
Re: 1991 Rickenbacker 350 complete rebuild
Oh yeah; you definitely have that covered. I've seen a PT model similarly routed, and quite sustain-y, according to the owner.
There is no reason to ever be bored.
...why yes, I suppose I do have a double bound guitar fetish...
"Uh, I like the double bounds. . . ."
...why yes, I suppose I do have a double bound guitar fetish...
"Uh, I like the double bounds. . . ."
